So excited to announce that reclaimed crafts has a brand new website! We still have our highly entertaining and inspirational blog, but in addition, you'll also find information about workshops, private parties, wedding and baby showers, custom orders, where to buy, and wedding decor.
So come on over to our new website and check us out!
Friday, January 22
Sunday, January 10
vintage filing cabinet drawers
My picking buddy and I nipped into Studio Second Canal in Holyoke yesterday for their closing sale. Boy, what a day! We even got to explore Bruce's workspace, which involved stepping on crates and crawling through a window, which did not deter us one bit. This photo gives you just a small window into the treasures that were to behold (and does not even include the antique casket stand, which would make a killer coffee table in some hipster Soho loft):


Among my scores were these gorgeous pencil sharpeners (to add to my mom's collection) and the rubber stamp carousels which will soon hold test tubes and become bud vases:

But today, I'm here to discuss these gorgeous vintage filing cabinet drawers, the lot of which we split. I don't know the precise provenance, but based upon a little Googling, I suspect they lived in a newpaper office.
 |
| they even came numbered! |
As you know, it sometimes takes me years to figure out what I'm going to do with some of my finds. Take my lawn sweeper, for example:

This time, I immediately knew it would perfectly hold 4 rolls of toilet paper + reading material. Because I'm good like that.


Friday, December 4
business card holder? think again!
I love when people send me photos of my business card holders in their new homes. Especially when those people are creatives, like the amazing Rob Kimmel. Look at how he's using his "business card" holder:


Shirley Chisholm, back on the ballot!
Sunday, November 29
newspaper printing block = bud vase
Cruised up to the amazing Loot: Found and Made in Turners Falls last night and picked up some gorgeous vintage advertising letterpress printing blocks.

I highly recommend a late afternoon jaunt to Turners - cruise around Loot (leave child behind), then head to the amazingly delicious and beautifully decorated Five Eyed Fox.

The little guy spent the day with cousins and uncle downhill skiing (oy, already?). In that time, I managed to have a lovely brunch with hubby (Sunday Globe inclusive!) and turn the printing blocks into bud vases by drilling holes into the top for teeny tiny test tubes, compliments of my favorite science teacher. It gave me an excellent opportunity to get more practice on my drill press, which is my new favorite piece of equipment in the workshop.

Warren Five Cent Savings Bank


Ceresota Not Bleached Flour
Special Value!


wen 4 3/4%!


Boston Penny Savings Bank


Pet Motel (backside)
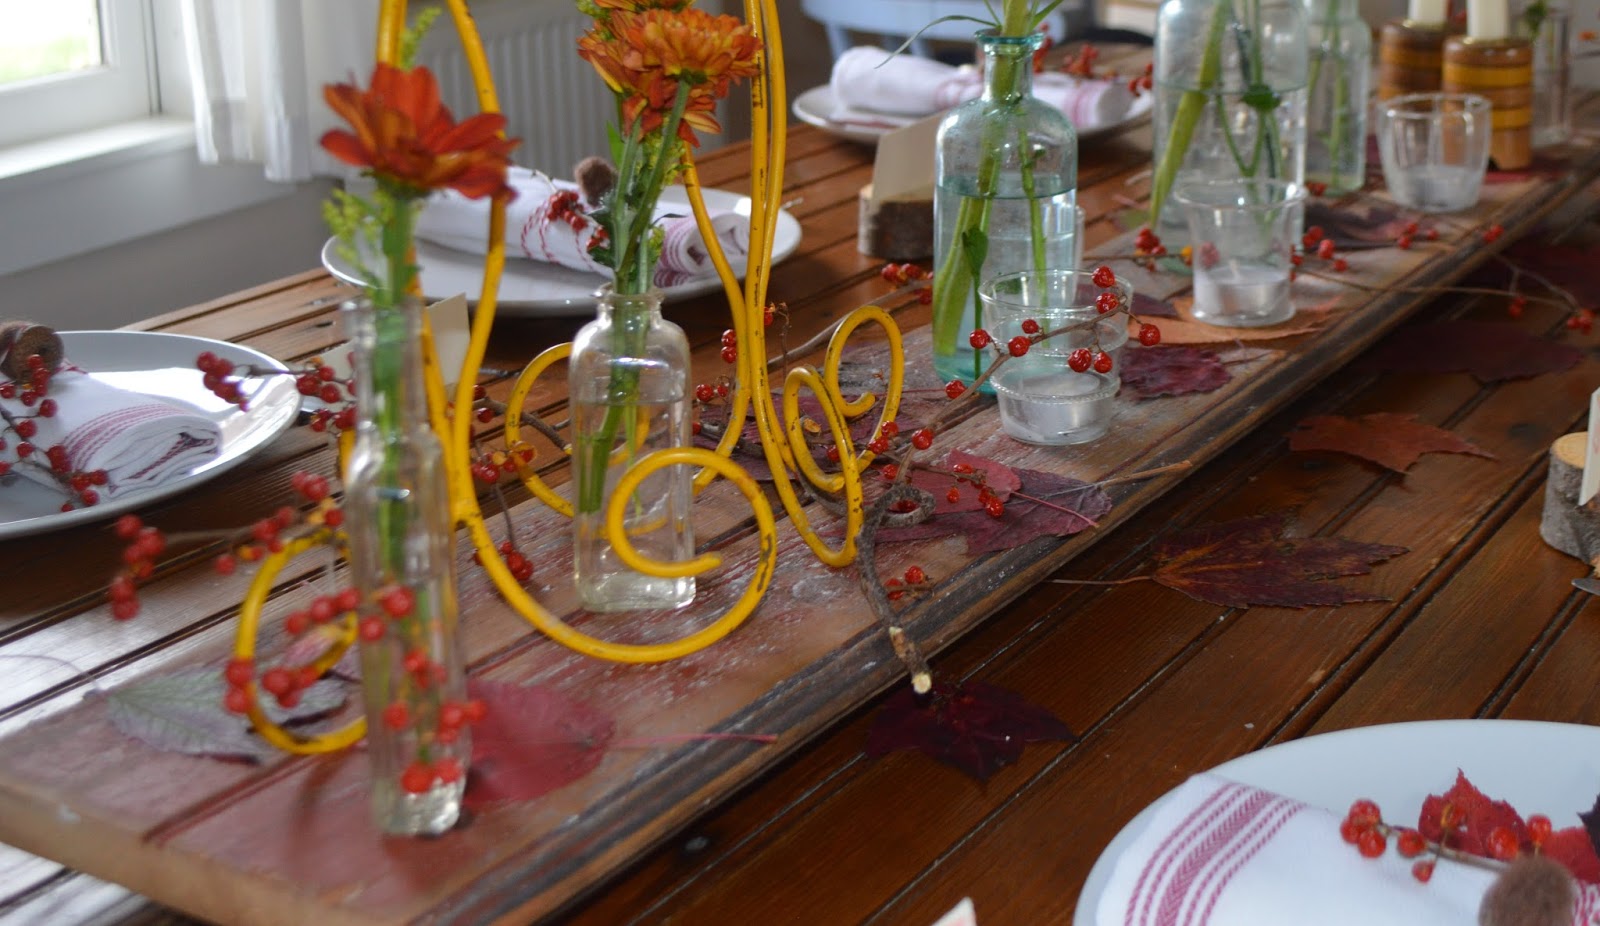
Thanksgiving table

My little guy is finally at the age where he is (generally) interested in helping with things like planning the Thanksgiving table. This year, we began months ago by collecting the incredibly beautiful leaves that decorated the sidewalk along the way to school, and popped them in some big dictionaries (that's what they are for, right?) to be pressed.
The centerpiece of the table came to me when a friend excitedly texted about a free pile of red barn wood in a local farming community. I selected one of the prettiest pieces, cut it down with the trusty chop saw, and gave it a nice coat of paste wax. Done.


The placecards (for the looks, not because I am a controlling person) were created from the stump of our Christmas tree from last year. I patted myself on the back several times for (1) saving it; and (2) remembering where I saved it. The hearts on the cards are all Gus.


The placecards really inspired the rest of the table, which focused on simplicity, nature, repurposed items (naturally) and the reds and oranges of the season. I pulled out the acorns I had felted a few years ago. If you haven't tried felting, I can't recommend it highly enough. It involves stabbing a needle into a piece of fabric repeatedly, which it just super fun, if not a little dangerous.

I treated myself (and my guests, of course) to some new plates (thank you Ikea, for your simple design and outrageously low prices) and napkins, which are really restaurant-quality dish towels, which meant the price was outstanding. I tried futzing with some uphostery webbing for napkin rings, but then defaulted to the tried and true bakery twine. To finish it all off, Gus and I collected some beautiful bittersweet (invasive, I know, but I didn't plant it).
And here's the calm, awaiting the storm of family, friends and joy:

salvaged bottles


tea light holders - only newly purchased item
on the table - couldn't resist

croquet mallets turned candlesticks


Subscribe to:
Posts (Atom)