reclaimed crafts has moved!

Please visit us at our new website!


Sunday, October 21

miter box

Can you imagine a more romantic gift than a miter box?  I thought not.  Newly re-obsessed with yardsticks, natch.  Look at those clean cuts!


tray $1 at a tag sale
painted, dressed up, ready to go


elect Francis J. Bud!


Saturday, October 20

burlap AND bakers twine? yes, please

I was nattering around charming Saratoga Springs (by myself, heavenly!) when I saw sweet, simple burlap-covered tea light candle holders.  A must do.  Here's our twist on it:


love the way the stencils look


scraps from our Indigo Coffee Roasters
burlap coffee bag

Guatemala, coffee, New Jersey

more stencils!

fabulous and free fabric

all lit up!


Sunday, October 14

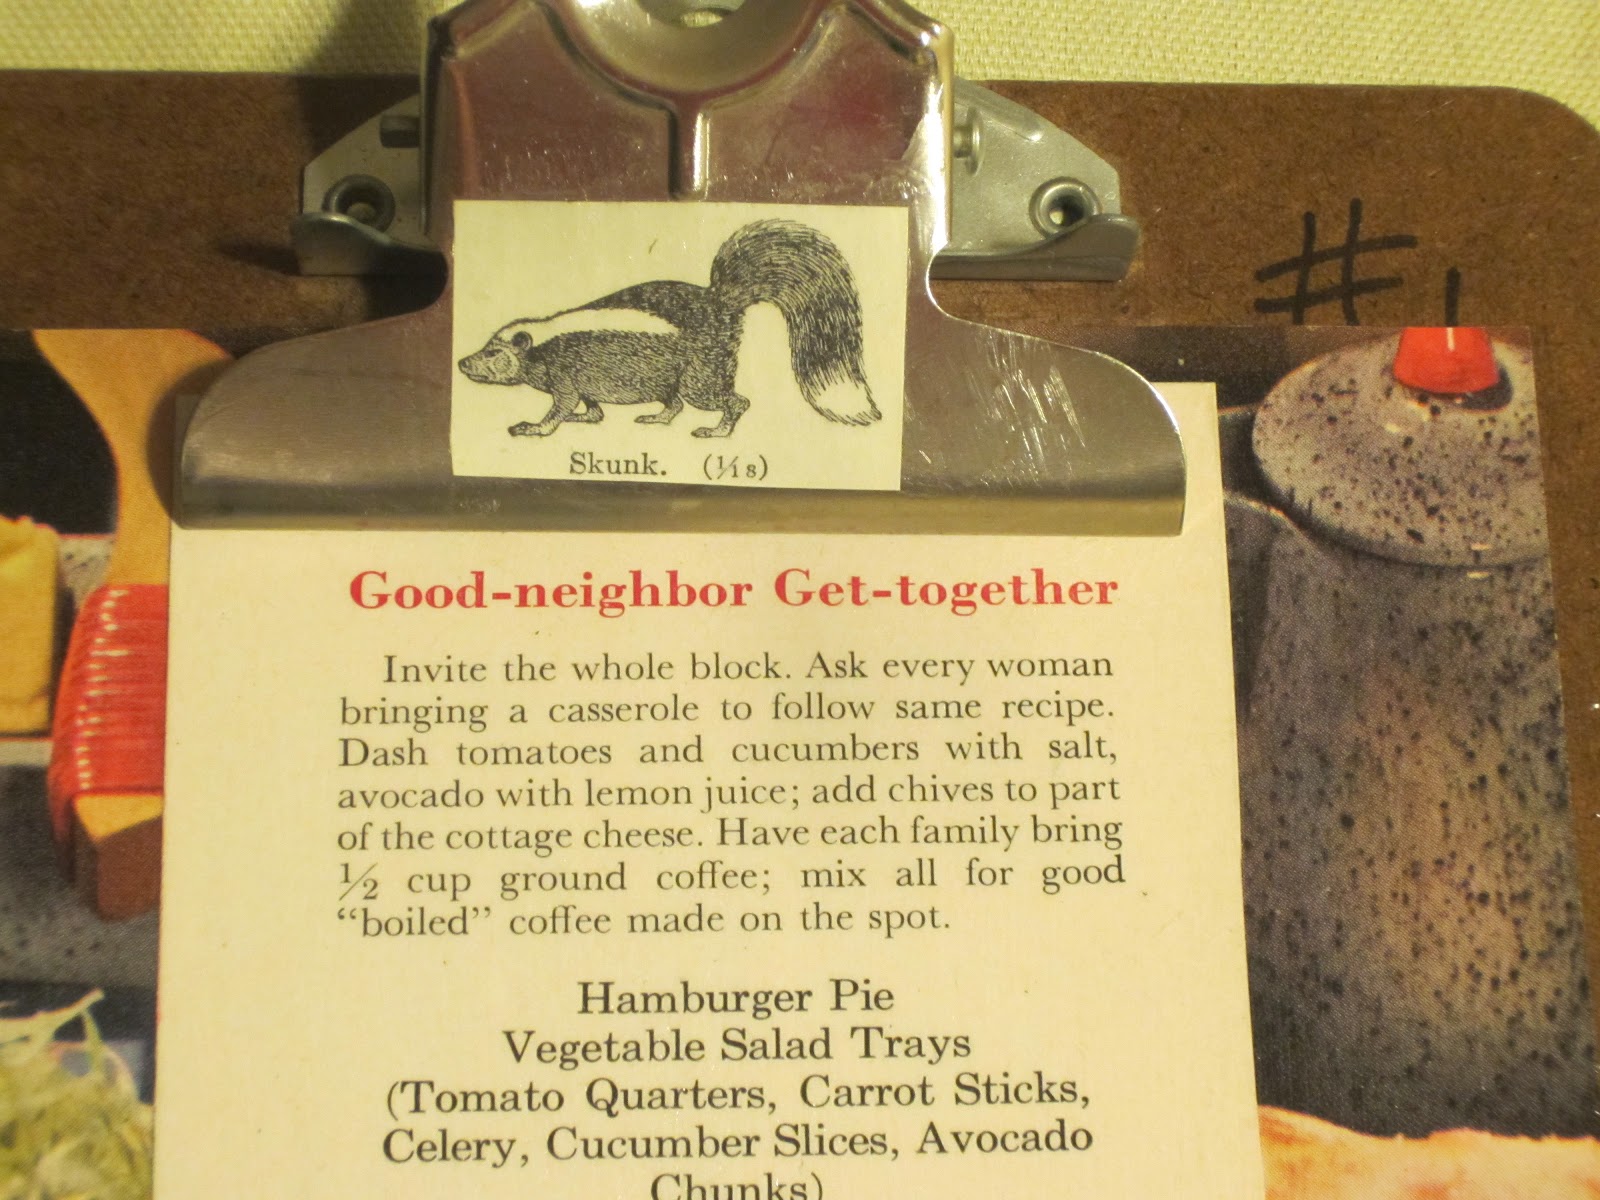
mini clipboards, that is all

Everything is cuter in smaller sizes.  So when I went to the Ashfield Fall Festival (it's like being in a Yankee Magazine article, but you can smell the apple crisp), I snapped up some mini clipboards at the annual crap sale there. 


thanks Larry and Gail...


...and the warehouse crew

At first I thought of wrapping the entire board, but I couldn't remove the clip, and I also liked the idea of some of the board peeking through.  
Very happy with the results, and have now started searching for more boards at the Goodwill and Salvation Armani.  These would be great as creative ways to display small pieces of artwork or photos, and the cookbook one would be great to prop up in a kitchen to hold recipes.  You could also use them to hold to do lists, which is what I used to do in middle school.  Yeah, I was a dork.  And I loved me some clipboards.


ask every woman!


yes, those are two hot dogs, to the
right of "summer"


1950's children's grammar book


color war!
(I checked to make sure it hadn't
morphed into an offensive term)


who doesn't love a great rendering 
of a hedgehog?


(as in voyage)


why can't I figure out how to make this
go the other way?


Saturday, September 8

tennis, anyone?

**IMPORTANT NOTE:  I've just been informed that this is actually a badminton racquet.  That does not make this any less cool, it's just a reminder of how, despite growing up on Long Island, the whole tennis thing just didn't take.

Just one score tagging this morning, but it was a goodie!  I've been collecting old tennis racquet presses for a while because I think they'll make great frames.  I picked one up today with tennis racquet still inside.  Old, cool and $2.  Need I say more?  


A friend with a recent birthday is a huge tennis guy, so I started poking around on the intergoogles to see what I could do with it.  Lo and behold, the world has been busy repurposing tennis racquets without me!  I liked the idea of making a bulletin board best, and followed this great tutorial to make it, using a beat up tag sale bulletin board and a map from a 1961 atlas found curbside (!!)  

Since our motto is "we screw up so you don't have to," I offer the following tips:

  • crease the paper into the racquet frame for the cleanest trace
  • cut the cork with a sharp knife and don't saw (cork crumbles and this just makes it worse)
  • cut flaps around the paper before affixing it to the back - the corners wrap more easily
  • old racquets are warped (duh), so make sure you know which side is up when you cover the cork so your map doesn't end up upside down like mine (though you can always hang with the handle up)
  • pre-fab cork (sold at stores like Michael's) would definitely cut more easily and tuck into the frame more cleanly (you can see mine is not a perfect fit), but I have yet to score any at tag sales, and bulletin boards are in abundance

bonus thumbtacks (recycled buttons 
covered with maps hot-glued onto tacks)


thumbtack holding tiny card 
(less to write!) made with 
decoupage paper and map scraps


cutest boy ever makes every
project look better


Thursday, August 9

new and improved yardstick table

Tooling around on the interwebs last winter, I got inspired to try another yardstick table.  I loved my first one


but I was ready for some advanced cutting and placing.  Both the hardest and most fun part of this was figuring out what pattern to use.  After a lot of messing around, I decided to use the traditional log cabin quilt pattern.  I loved the idea of modernizing such a lovely old pattern.  Reclaiming it, as it were.  

The challenge, which I did not experience with my first table, was the warp of the very old and well-used sticks.  My husband took an electric drill to them and was kind enough to create a pattern with the screws, but I still wasn't thrilled with it, and despite shimming the sticks, it wasn't completely flat.  Hilary suggested epoxy, made famous by the amazingly talented local artist Scout Cuomo.  It worked great, giving the surface a shine that makes the colors of the sticks really pop.  Plus, it was super fun to work with!